If you’re a student or a young professional looking for quick financial support, mPokket can be a real lifesaver. Whether it’s for college expenses, rent, groceries, or a medical emergency—mPokket offers instant personal loans with minimal documentation.
But applying the right way—and managing your loan smartly—is the key to avoiding stress, penalties, and debt traps.
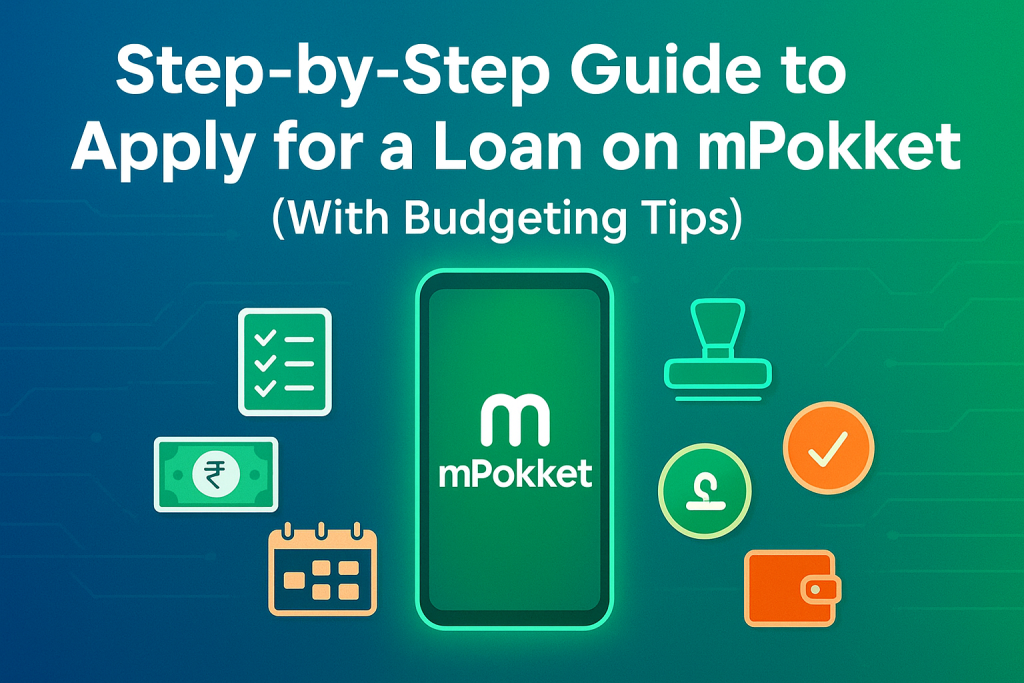
In this guide, you’ll learn:
- ✅ Who can apply for a loan on mPokket
- 📲 Step-by-step loan application process
- 🧾 Documents you’ll need
- 💡 Budgeting tips to borrow smart and repay stress-free
- ⚠️ Common mistakes to avoid
📌 Who Can Apply for a Loan on mPokket?
You are eligible if you:
- Are 18 years or older
- Are a college student or salaried professional
- Have a valid PAN card
- Own a bank account in your name
- Can upload all required documents digitally
🧾 Documents Required
👨🎓 For Students:
- PAN card
- Valid student ID card
- Selfie photo
- Bank account details (passbook or screenshot)
👨💼 For Salaried Professionals:
- PAN card
- Aadhaar card
- Salary slip or bank statement
- Selfie photo
- Bank account details
🪜 How to Apply for a Loan on mPokket – Step-by-Step
Step 1: Download the mPokket App
- Go to the Google Play Store
- Search for “mPokket” and install the app
Step 2: Register Using Your Mobile Number
- Open the app and sign up using your mobile number
- Verify it using the OTP sent to your phone
Step 3: Complete KYC
- Upload your PAN card and selfie
- Students: Upload your valid student ID
- Salaried: Upload Aadhaar and salary slip/bank statement
- Enter your bank account details
🕒 KYC approval usually takes 15–30 minutes if documents are clear and correct.
Step 4: Apply for a Loan
- Choose your loan amount (₹500 to ₹30,000)
- Select your repayment tenure (61 to 120 days)
- Review interest rate and total repayable
- Submit your application
Step 5: Get Instant Disbursal
Once approved, the loan amount is transferred directly to your:
- Bank account, or
- Paytm wallet (if selected)
💡 Budgeting Tips to Manage Your mPokket Loan Smartly
(From “How to Create a Monthly Budget That Actually Works”)
📝 1. Know Your “Why” Before You Borrow
Only take a loan if it’s truly necessary—like for:
- Tuition fees
- Exam costs
- Emergency medical needs
- Rent or travel for work/college
Avoid borrowing for shopping, parties, or luxury items.
🎯 2. Treat Your EMI Like a Monthly Bill
Before spending on anything else, set aside your loan repayment. Add it as a fixed item in your monthly budget.
Tip: Use apps like Google Pay or Paytm to set reminders.
💼 3. Track All Income and Expenses
Know exactly how much you earn and spend. This helps you:
- Avoid taking loans you can’t repay
- Save a buffer for repayment
- Build discipline for future financial goals
💰 4. Create a Repayment Fund
Even setting aside ₹100–₹500 per week can help you repay on time without stress.
Use a separate savings pocket in your UPI or bank app.
🔁 5. Repay Early if Possible
Early repayment reduces interest and boosts your mPokket credit profile, helping you get higher loan limits later.
⚠️ Common Mistakes to Avoid
| ❌ Mistake | 🚫 Why It’s a Problem |
| Borrowing more than you need | Increases your repayment burden unnecessarily |
| Ignoring the interest rate | Total repayable may be much higher |
| Missing the repayment date | Leads to daily penalties (₹50–₹200 per day) |
| Using someone else’s documents | Can lead to permanent ban and legal action |
| Depending on multiple loan apps | Creates a cycle of debt and confusion |
📈 Final Thoughts: Borrow Smart, Budget Smarter
Getting a loan on mPokket is quick and simple, but handling it wisely is what sets you apart. By budgeting smartly, planning your repayment, and only borrowing when needed—you can use mPokket as a helpful tool, not a trap.